If you guys have followed me for awhile, I’m sure you have noticed that no matter the occasion, my makeup look is pretty basic. I don’t know if that’s because I don’t know how to do it, don’t have the money for all the fun stuff, or just don’t like the feeling of a full face of makeup. Honestly, it’s probably all three of those. Lol! I like to keep it simple, but still full coverage…. (I was not blessed with the natural beachy-glow/flawless skin). If only!!
Aside from my actual makeup products, the two MOST asked questions I have ever received…. by a landslide count… are about my magnetic lashes, and my tanning routine! I would say I easily get 30+ DM’s about the two! So, to make life a little easier for you and I- I will touch on both of those in this post!

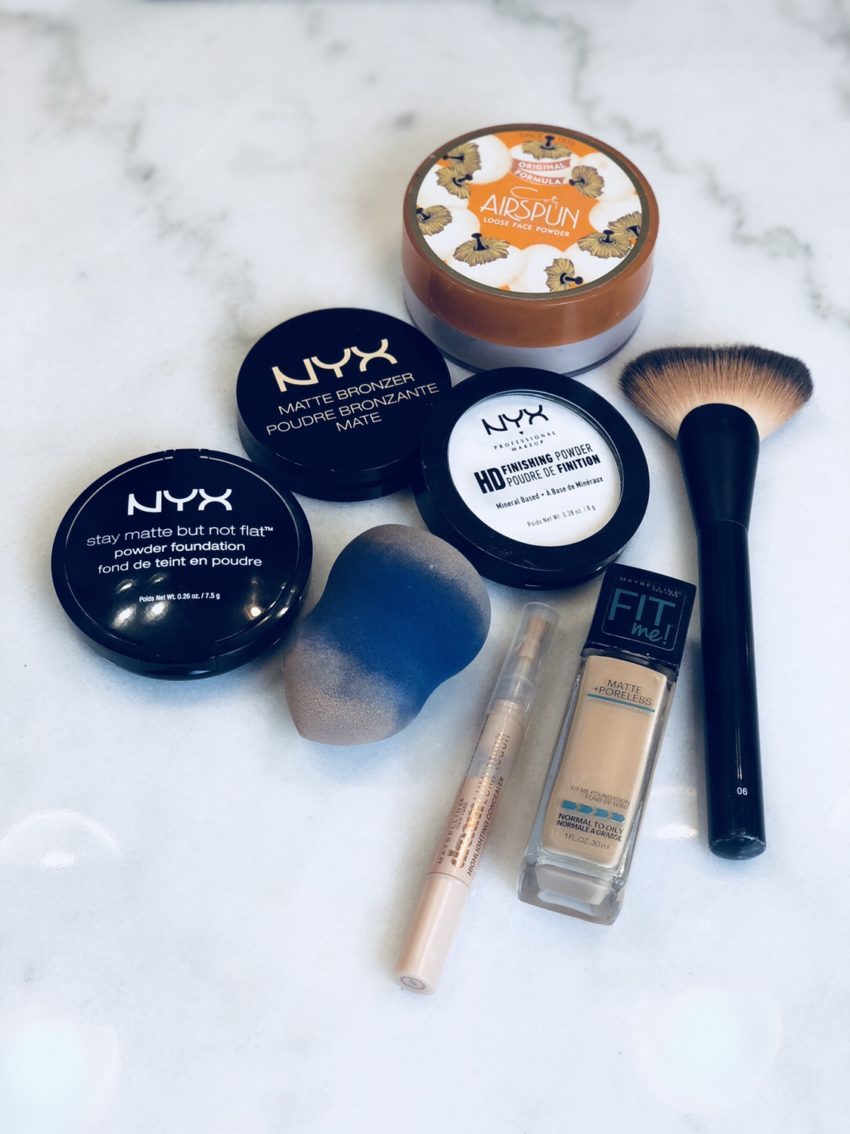
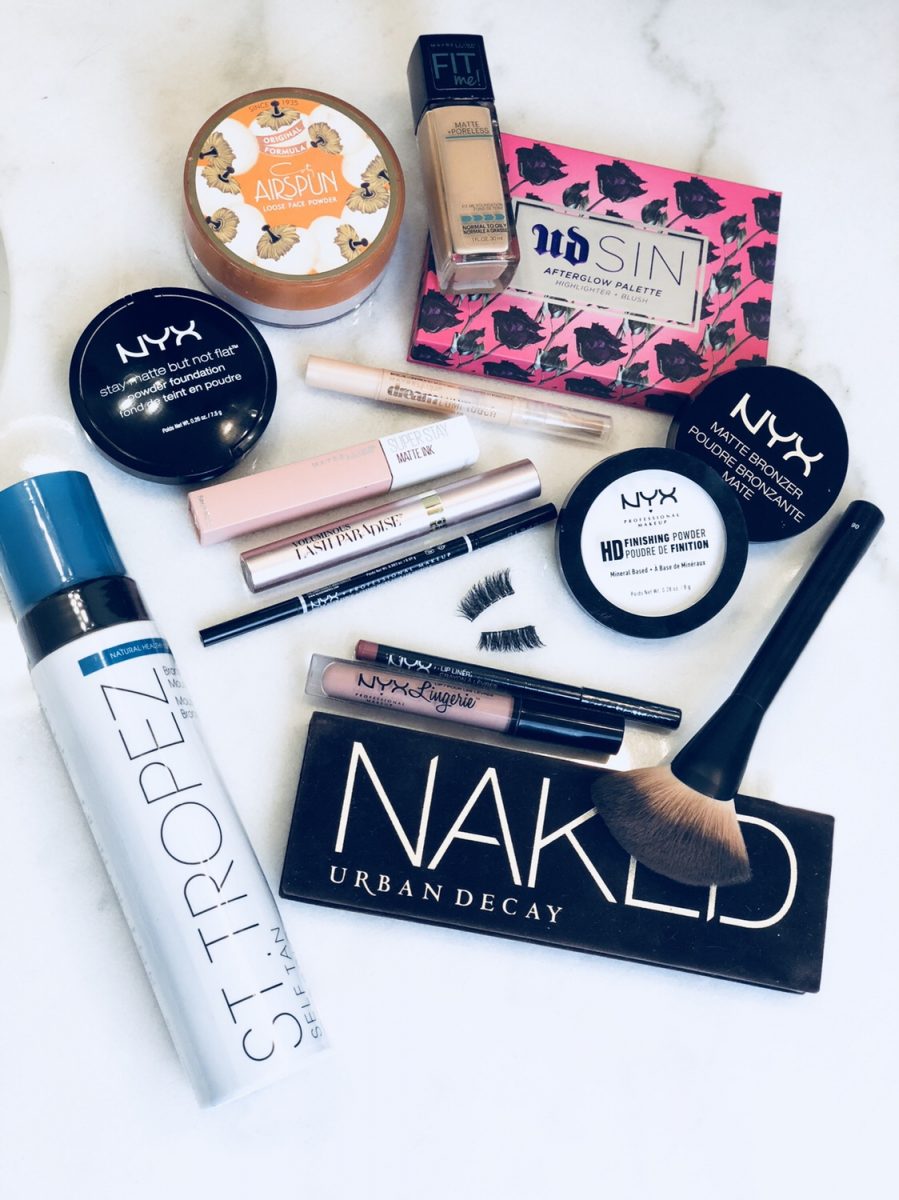
First things first- My ground work for the whole look.. my foundation!
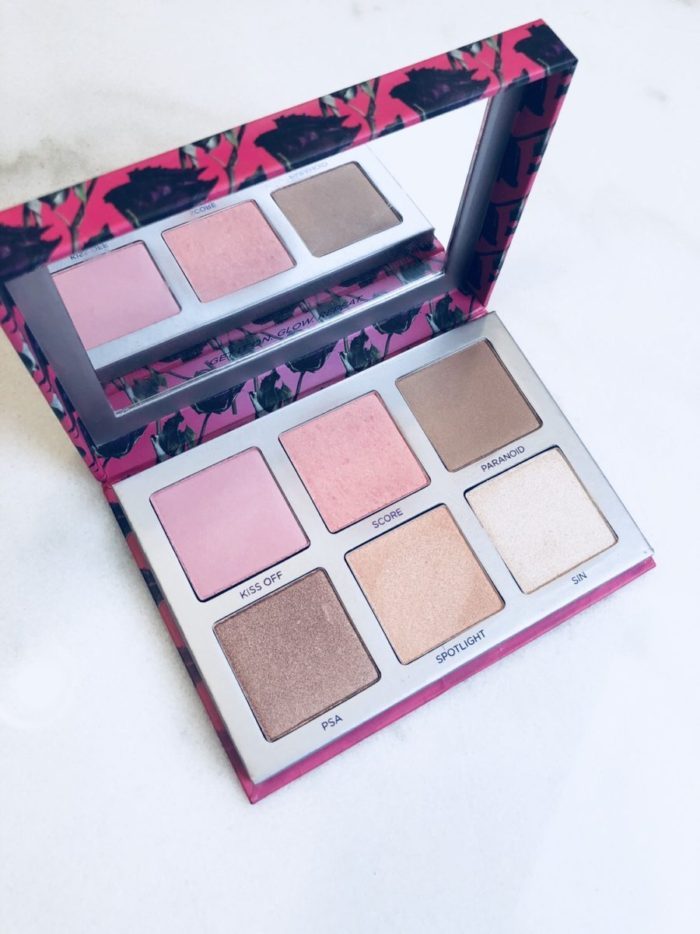
I have fairly oily skin, along with a few too many acne scars… lucky girl, I know. So I need something that covers me up and keeps the shine away! Also, before I forget….. I have a primer, I should probably use it… but if we are being honest, I rarely do. Now that that’s out of the way… I get my beauty blender damp and begin to pour my foundation onto the larger surface of the beauty blender. I dab that around my whole face, as well as my neck until everything is smoothed in! Then, I get my highlighter stick and place a generous amount under my eyes, down the bridge of my nose, in between my eyebrows, and above my lip! I take the smaller/pointed side of the beauty blender and dab all of that… dab…. NOT brush!! It’s totally fine if the spots seem to look way brighter than the rest of your face.. that’s how it’s supposed to look! Next, I take my beauty blender and and dip it into my loose powder and begin to dab it all over the areas where I placed the highlighter. I typically apply quite a bit. It looks silly, but its called ‘baking’ your face! It allows your makeup to stay on all day! Then, I take my NYX brush and bronzer and apply it under my cheek bones, my hairline on my forehead, and my jaw bone (to blend it into my neck). At this point, you will look like a clown. Next, I get my fluffy/loose brush and dab it into my NYX setting powder and then spread that all over my face in a circular motion, blending the bronzer and loose powder. After this, if you still have some spots that need extra powder (for all my super oily girls out there), I get my compressed NYX powder and dab it into those remaining areas. Finally, I get my blush brush and apply blush, fairly heavily, to my cheeks all the way up to my cheek bones!
We have finally finished the ground work- told ya I needed a lot of coverage! lol. I promise it does not take nearly as long as it sounds!

Next, my eye area-
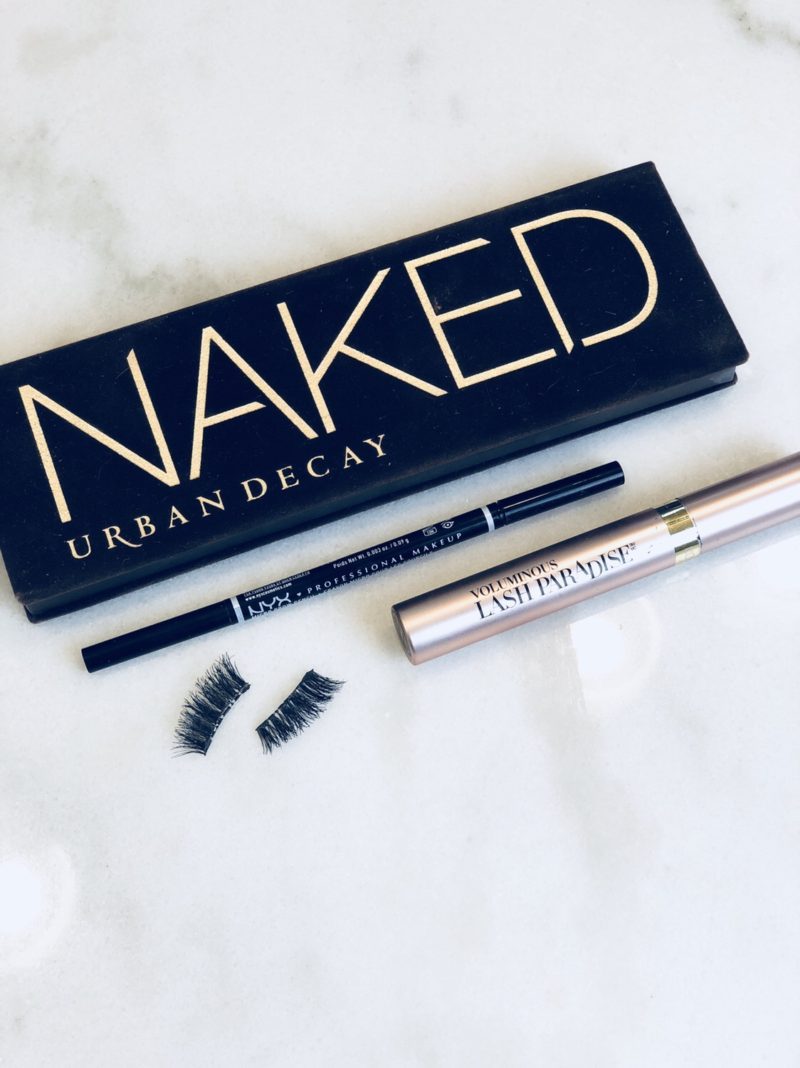
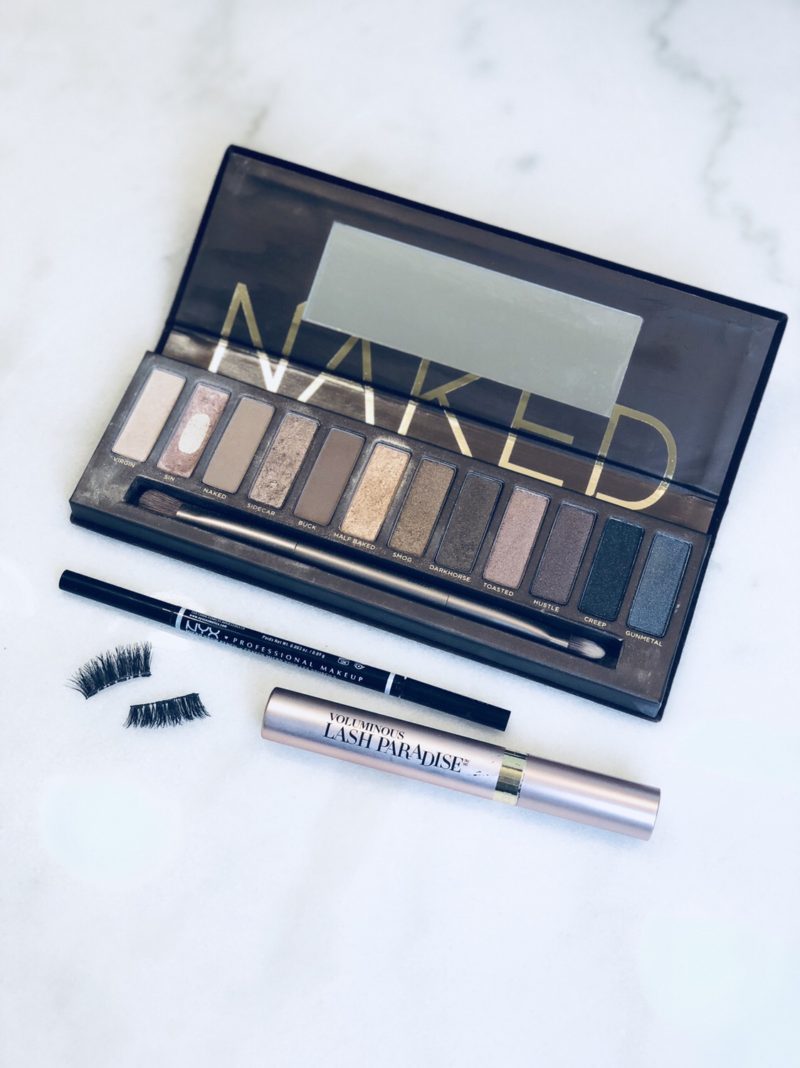
I start this process by doing my brows.. nothing looks right until I have my brows done! I use my NYX brow pencil to first smooth out my brows, then the pencil to color them in. I start at the top ridge of my brows and work my way down, then come over to the bottom, most inner portion of my brown and begin to fill it in until it reaching the point previously completed. Then, if I am feeling it that day.. I apply a little bit of eye shadow, but that is unlikely. lol. I usually skip right to my lashes! I apply a thin layer of mascara to my top lashes, usually only one layer. I repeat that with my bottom lashes!
Now, for the magnetic lashes! I wait for the mascara to dry before doing anything! Once it is ready, I tilt my head back and apply the top lash first, while the bottom lash is ready to go in my other hand (this way you do not have to look down.. if you look down, the top lash will fall off). As soon as the top lash is placed against my eyelid and centered on my lid, I begin to slowly put the bottom lash on- I start by bringing it up close to my eye (under my top lashes), and begin to connect the magnet on the furthest side of my eye, once that has connected, the eyelashes will automatically clasp together. It sounds terrifying, trust me… it was at first! Lol! I sat on my bathroom floor for hours, for about a week before getting the hang of it! But, now it takes me less than a minute.. they last all day, and I can wear the same pair for about 4 weeks!
ALSO: THERE IS A VIDEO TUTORIAL SAVED TO MY BEAUTY HIGHLIGHTS ON INSTAGRAM THAT CAN ANSWER ANY AND ALL MAGNETIC LASH QUESTIONS!
Finally- the lips!
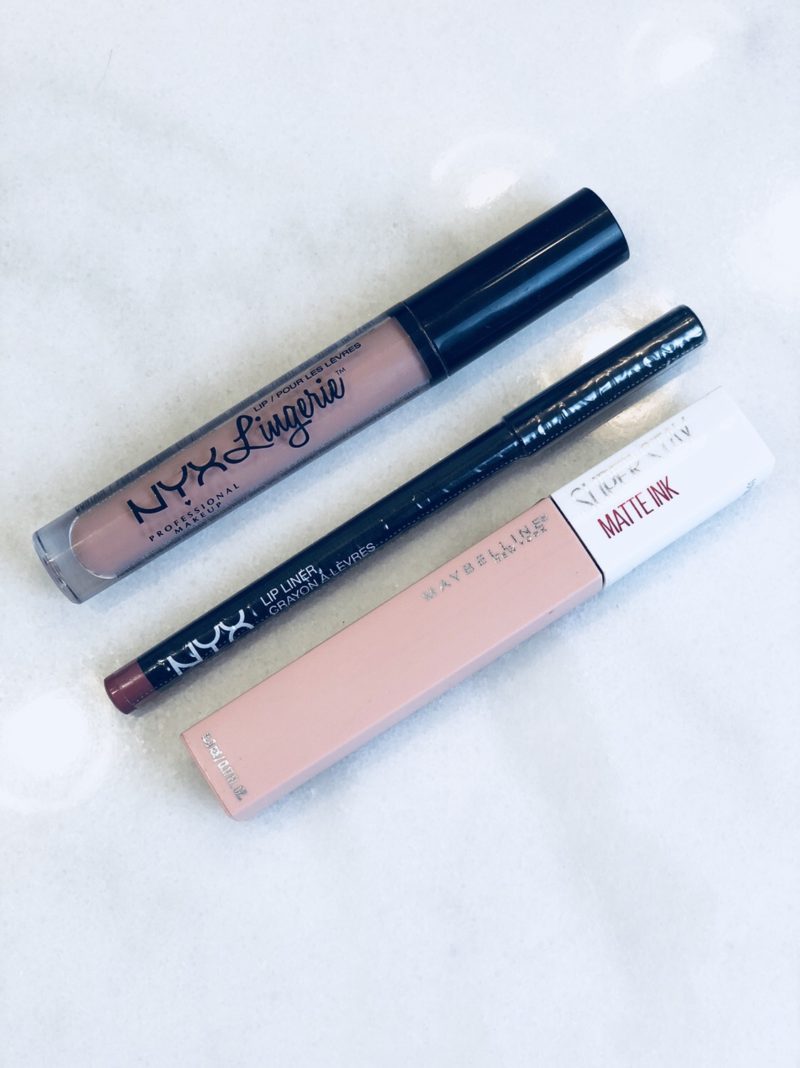
I feel totally naked without any lip color on! I never do anything crazy and typically wear the same three colors everyday! But, I have narrowed it down to my final two FAVORITE picks! I line my lips with the NYX Peekaboo Neutral liner. I line then, and then carry the pencil into the center of my lips and color in the majority of my lips with the liner. This acts as a base/primer and allows your lips to still have color even when the lipstick begins to wear off! Then, I either put on my Covergirl Matte lipstick or my NYX lingerie Matte cream!
*I now use COVERGIRL CORAL CHRONICALS with my NYX babydoll”
IT IS NOT THE MAYBELLINE ONE PICTURED- THAT IS AN OLD PIC
Now, here are a few extras that I wear every single day and fall under the beauty category!
Side note- a tanning tutorial will be coming to the blog shortly!
** IM LITERALLY LAUGHING SO HARD AT THE STILL MOTION OF MY FACE** What can ya do.. LOL!!